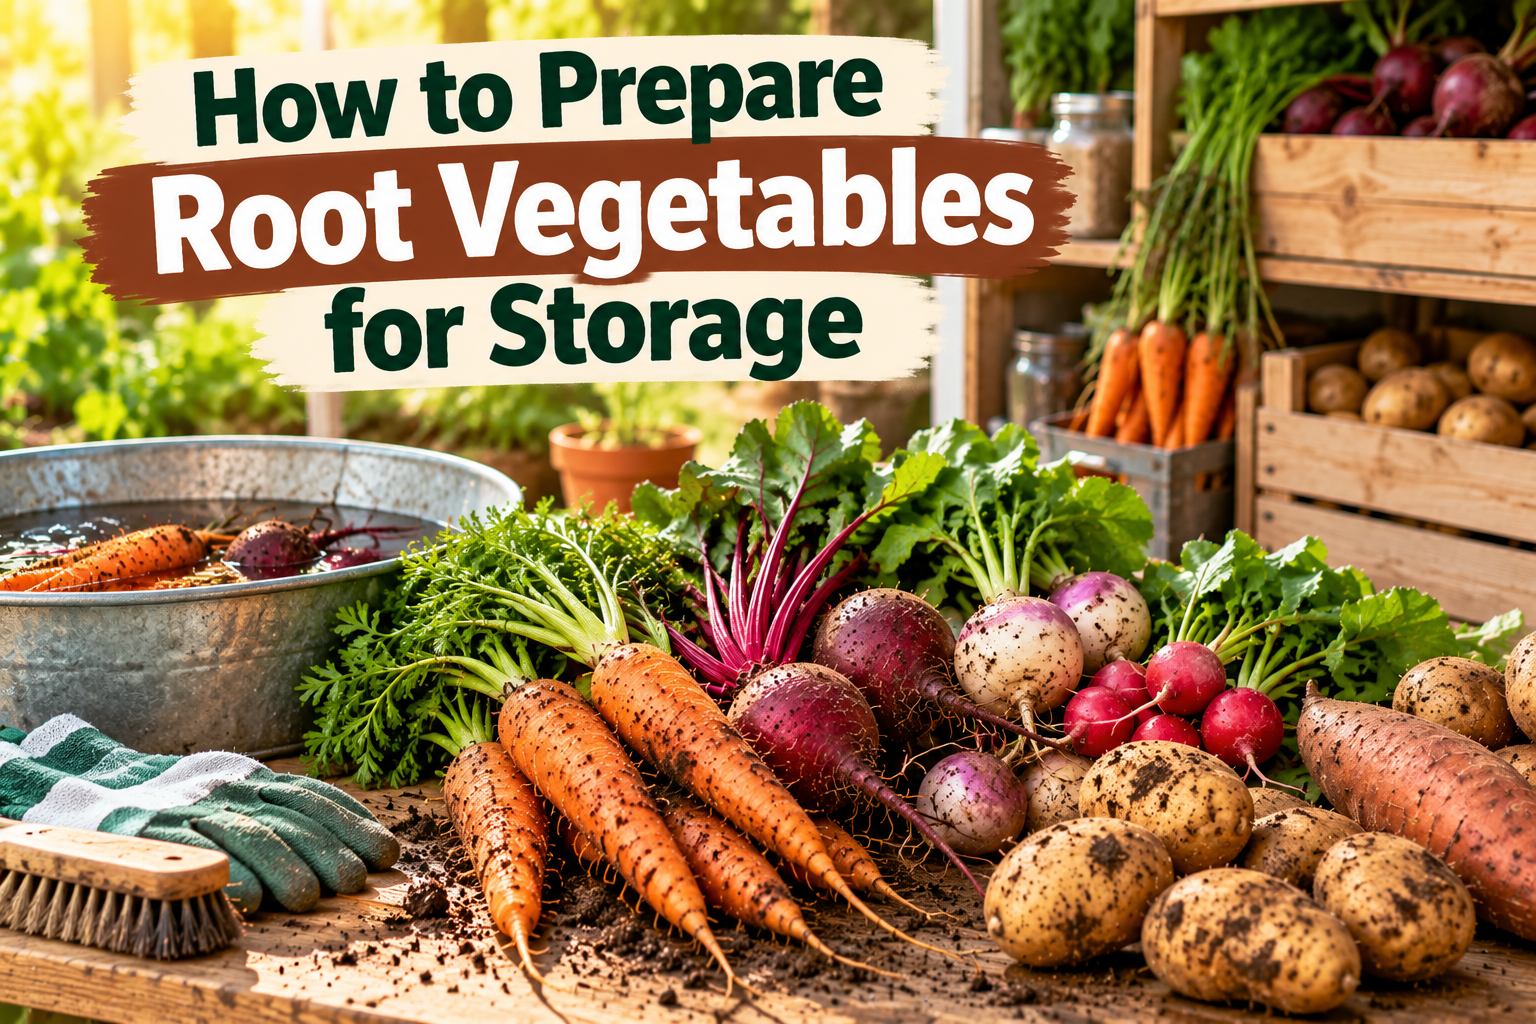
Growing root vegetables at home can give me a surprisingly large harvest, especially when I grow carrots, beets, radishes, turnips, or similar crops. But after harvesting, I need to prepare the vegetables correctly before putting them into storage.
Knowing how to prepare root vegetables for storage can make a major difference in how long they remain fresh. Root vegetables are naturally suited to storage, but poor preparation can lead to moisture problems, rot, sprouting, and loss of quality.
In my experience, good preparation starts immediately after harvesting.
Harvest Root Vegetables Carefully
The first thing I focus on is careful harvesting.
I loosen the soil around the roots instead of pulling or digging aggressively. This helps prevent cuts and bruises.
Different root vegetables have different harvesting times, but mature roots generally have better storage potential.
Any vegetable that is badly damaged during harvesting should be separated and used first.
Remove the Green Tops
Many root vegetables have leafy tops that continue to draw moisture after harvesting.
For carrots, beets, turnips, and similar vegetables, I remove the leaves before storage.
I usually leave a small amount of stem rather than cutting directly into the root.
The leaves can sometimes be used for cooking, depending on the vegetable and their condition.
Removing the tops helps reduce unnecessary moisture loss from the roots.
Remove Loose Soil
Fresh root vegetables often come out of the garden covered in soil.
For storage, I prefer gently removing loose soil rather than washing everything immediately.
I use my hands or a soft brush to remove larger pieces of dirt.
The goal is not to make the vegetables perfectly clean. I mainly want to remove excess soil without damaging the outer surface.
Avoid Washing Before Long Term Storage
Washing root vegetables before storage can introduce extra moisture.
For short term refrigerator storage, washing may be convenient, but for longer storage I prefer keeping the vegetables dry on the outside.
I can wash them properly when I am ready to cook them.
This simple approach can reduce the risk of mold and decay.
Sort the Harvest
Sorting is one of the most important preparation steps.
I separate healthy vegetables from roots that are cut, bruised, soft, cracked, or showing signs of disease.
Healthy vegetables are the ones I choose for long term storage.
Damaged vegetables are better used soon because they usually will not store as well.
Allow Surface Moisture to Dry
If the roots are wet after harvesting, I allow them to dry naturally in a shaded and well ventilated location.
I do not put wet vegetables directly into storage containers.
However, I also avoid leaving them in strong sunlight for long periods.
The goal is simply to remove surface moisture before storage.
Choose the Right Storage Method
Different root vegetables can require different storage methods.
Carrots and beets can work well in cool and humid conditions.
Potatoes generally prefer cool, dark, and dry storage.
Sweet potatoes have different temperature requirements and should be cured before long term storage.
Understanding the needs of each vegetable is important instead of treating every root crop exactly the same way.
Use Suitable Containers
For many root vegetables, breathable containers are useful.
Cardboard boxes, baskets, paper bags, and ventilated storage crates can work well depending on the vegetable.
Completely sealed plastic containers can trap moisture and may increase the chance of decay.
I also avoid packing vegetables too tightly because good airflow is important.
Keep the Storage Area Clean
Before storing a large harvest, I make sure the storage area and containers are clean.
Old plant material, spoiled vegetables, and accumulated moisture can create problems.
A clean storage environment makes it easier to monitor the harvest and remove any vegetables that begin to spoil.
Store Similar Vegetables Together
I prefer organizing root vegetables by type.
For example, carrots can have their own container, while beets and turnips can be stored separately.
This makes it easier to monitor each group and provide the appropriate storage conditions.
It also prevents one type of vegetable from affecting the others unnecessarily.
Check Stored Vegetables Regularly
Proper preparation does not mean I can forget about the harvest.
I check stored root vegetables regularly for soft spots, mold, unpleasant smells, and signs of decay.
If I find a problem, I remove the affected vegetable immediately.
This small amount of maintenance can prevent a storage problem from becoming much larger.
Common Preparation Mistakes
One mistake is storing damaged vegetables with healthy ones.
Another is washing everything immediately and storing it while still wet.
Leaving green tops attached is also a common problem with several root crops.
I also avoid storing vegetables in areas that are too warm, too wet, or exposed to direct sunlight.
Final Thoughts
Learning how to prepare root vegetables for storage is one of the most useful skills for a home gardener.
The process is simple. Harvest carefully, remove unnecessary leaves, remove loose soil, avoid excess moisture, sort the vegetables, and choose the right storage conditions.
The more carefully I prepare vegetables before storage, the easier it is to keep the harvest fresh.
Good preparation also reduces food waste and allows me to enjoy vegetables from my garden long after harvesting season.